If your organisation has the Survey module (formerly known as Understand&Learn module) enabled and you have been given the permissions to use it, you will be able to create a survey that you can send out to different groups.
How to see if you can Create a Survey
If you have permissions to create a survey you will see the Surveys panel/icon on the Dashboard with the ‘Create a survey’ button. You can also start a survey from the ‘Create a survey’ option found on the left-hand side function menu.
Choosing the Survey Type
The first step is to choose the type of survey that you want to create:
- Pulse – When you need a fast and frequent survey. A Pulse Survey has only one question and allows you to check the health of the organisation.
- Mini – When you have just a small number of questions to ask. A Short Survey is good for follow ups to long-form surveys or get feedback on specific topic.
- Long – When you want to go deeper with your questioning. Staff surveys are one example of a long form survey. These have lots of questions grouped into logical areas called Sections.
Setting the survey name and details
On the next page you create some details about the survey such as its name and who it is visible to.
First you are asked for a reference for the survey. This is for your own reference but could be seen by other managers in the organisation so needs to be meaningful. We recommend keeping the name unique so you can differentiate between surveys.
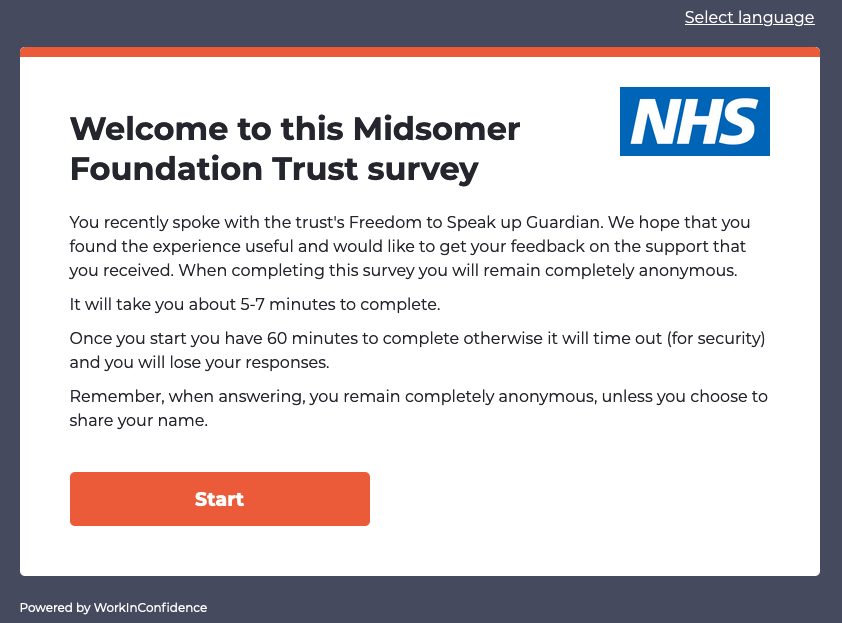
Next, you can add some text that will be visible on the survey welcome page that the user sees immediately before starting the survey. You can use this text to frame the survey so that the user knows what to expect and how the information they enter will be used. It is possible to add this text (and the survey name) in all languages that WorkInConfidence supports.
Finally, is an option that allows you to choose whether this survey should be available to other managers. If you select this then they will be able to edit and make changes to the survey.
Adding Sections & Questions to your Survey
Next you can add one or more section and questions to your survey depending on the survey type.
- Pulse surveys can only have a single, five point smiley scale, question and no sections
- Mini surveys can be made up of as many questions as you need from all available question types but no sections. When completing the survey the questions are shown one at a time.
- Long surveys has to have at least one section and can have as many questions and sections as you need. When completing all questions in a section appear on the same page.
Adding a Section
For a long survey you must create at least one section to hold your questions. This includes a section name, such as About You, Working for us, etc., and an optional teaser text that is shown at the top of the page when answering the survey section. Again you can create section details in all languages available in WorkInConfidence.
Adding Questions
You are now able to add as many questions as you need and the survey type allows (a Pulse can have only one question of the Five point smiley scale type). Enter the question text and the select the question type from the following options:
- Five point smiley scale
- Pick list (add your own options or select from previously uploaded)
- Free text
- Rating scales (click here to learn how to manage these)
- Yes/No
- Percentage slider
When done click Add question to save and add another. When you have finished adding at least one question you can click Next step.
Managing Sections and Questions
It is possible to manage the order of both sections and questions by dragging and dropping them into the order you require. Watch the short video below to see an example of how this works.
Settings
In this step you’ll be able to define certain Settings for the survey, as per the below list. The settings differ slightly for each of the survey types, but here are the parameters you can choose from:
- show a gauge of aggregated responses after submitting (Pulse only)
- enabling email notifications when responses are submitted (can be turned off later if desired)
- ask a user to “start a new conversation” at the end of the Survey. If you have the Anonymous Conversations module, then you will be offered the opportunity to allow users to go to WorkInConfidence and send an anonymous conversation through the system
- set a group size for the survey (5, by default. Setting it to 0 will grant access to the CSV)
- personalise the colours used for your survey
- choose whether to hide identifiers for rating scale questions or have them start from 1 instead of 0
- add a specific survey logo
Preview
Preview step allows you to see your survey before sending it out, and/or sending the link to the survey by Email:
Schedule
The final step before sending (sharing) your survey it to determine for how long it should run for. The schedule page then lets you choose whether to close the survey manually or set an end date.
Send
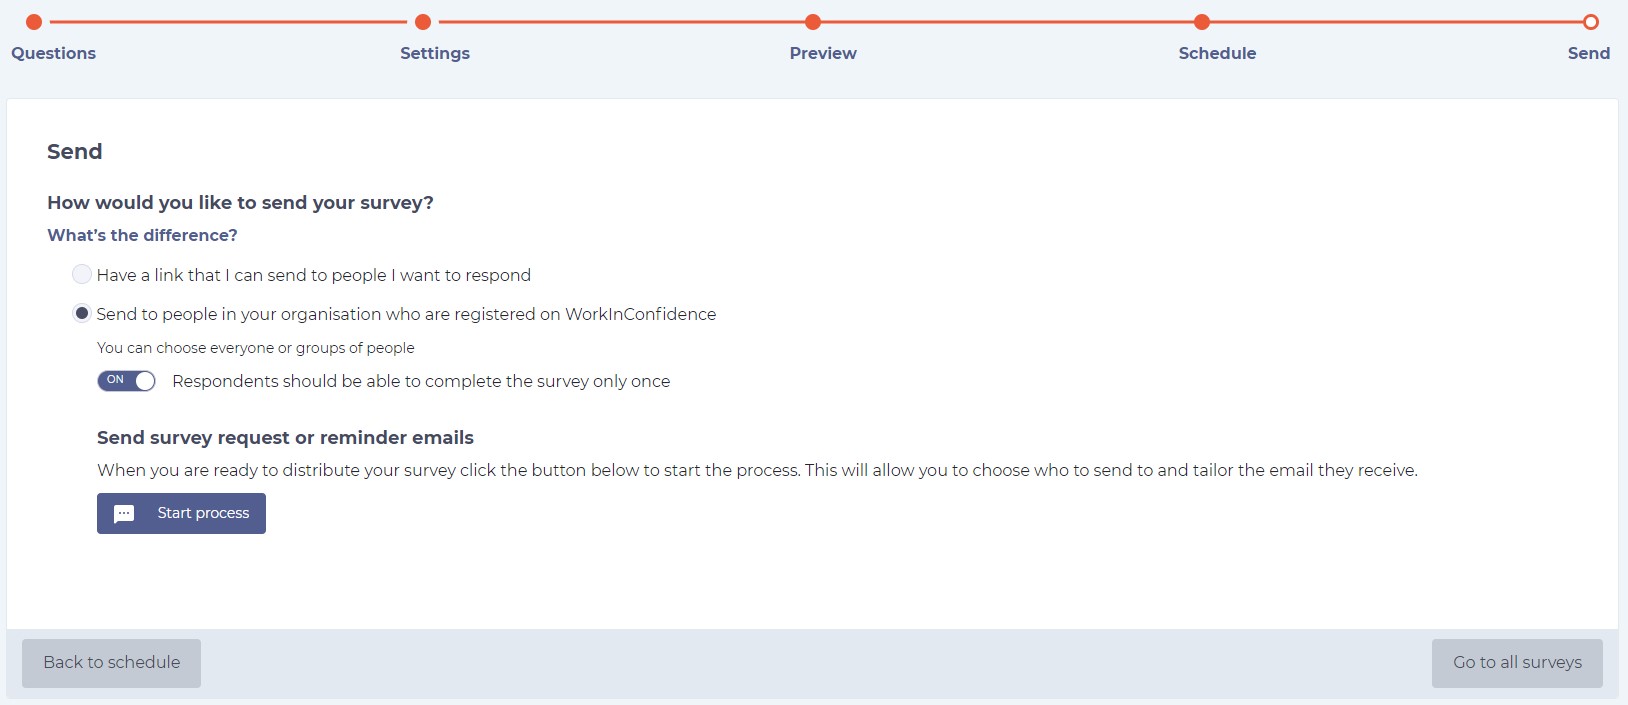
The send page has two options:
- sending the survey through a link (public survey)
- sending the survey through the WorkInConfidence app to everyone registered on it (private survey) – you can also choose for the respondents to only be able to answer it once
Public survey option (sending the survey through a link) should be used if you want to send your survey to a selected groups of people via your own email client, on posters and other printed materials, or on social media:
Private survey option (if you only want to send it to people that are registered on WorkInConfidence):
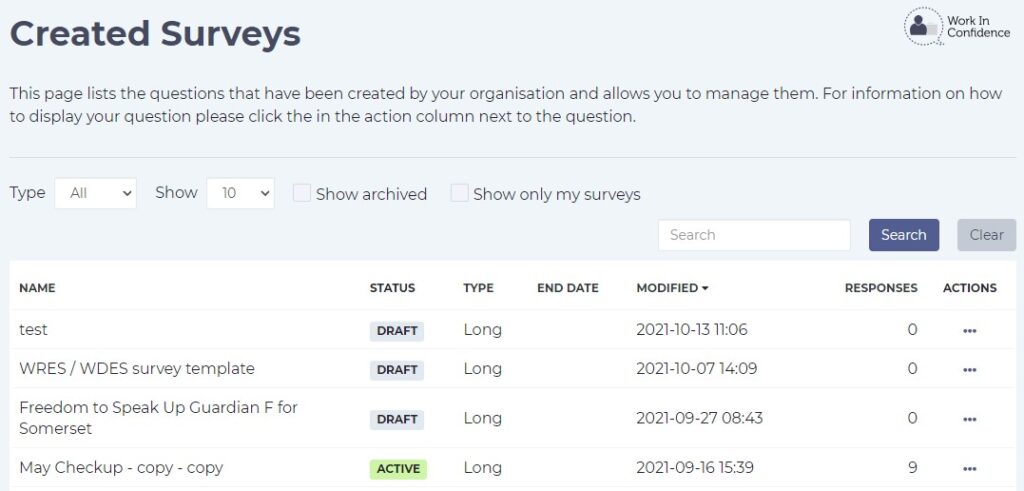
Important: Please be aware that once you’ve set up a survey it’s STATUS will remain in ‘DRAFT’ until it has their first response. When the first response is submitted, the survey will change its status to ‘ACTIVE’, and you won’t be able to amend it anymore. Until the survey status shows in DRAFT you are able to go back to it and amend it as needed.
You are all set
Your survey is now created and ready for you to launch.
Need more help? If you'd like help or support on any feature of WorkInConfidence then please get in touch by either creating a new support ticket, sending an email to support@workinconfidence.com or using the chat function in the bottom right of the page.


