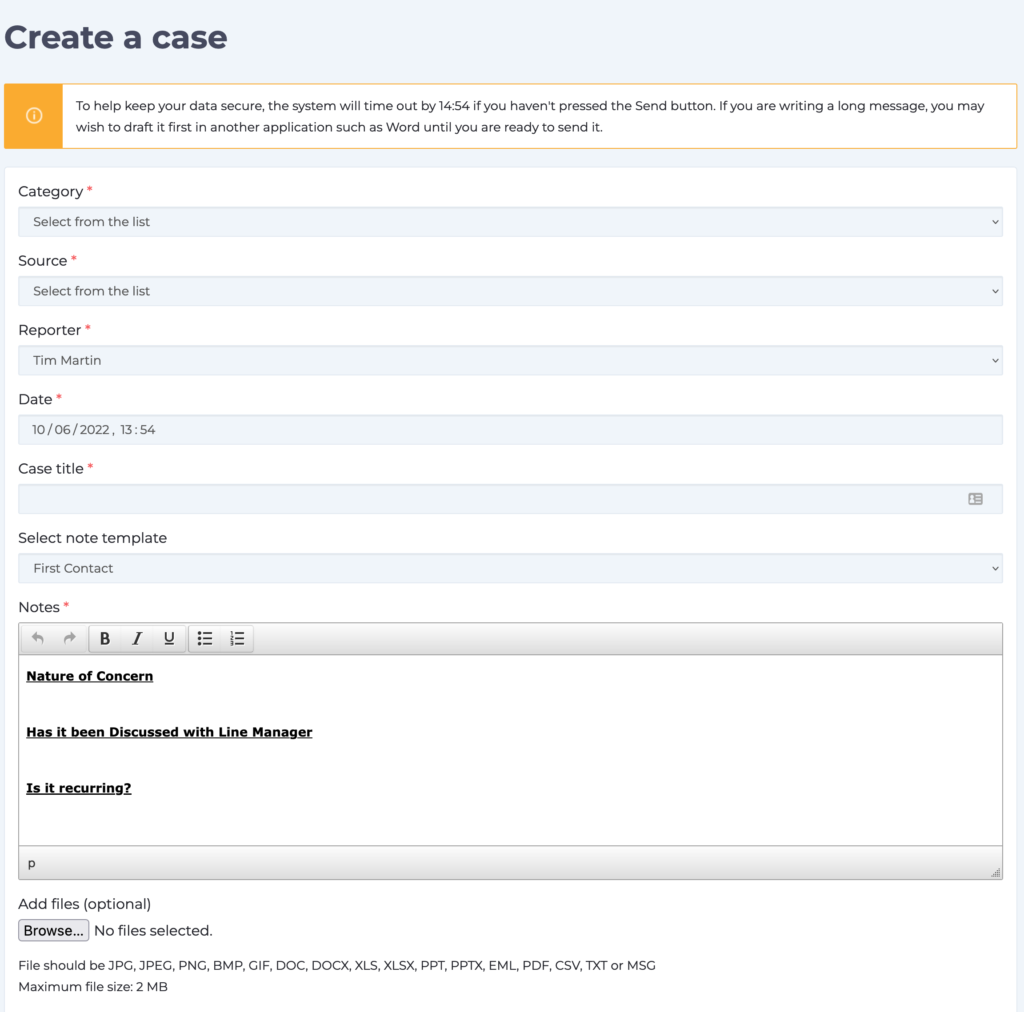
Fields are additional pieces of information that you can store against a Case allowing you to gather more detail. You can create as many fields as you need and they can be of type:
- date
- single select picklist
- text
- decimal
- integer
- telephone
- web address
The rest of this page shows you how to create and manage your fields.
Managing Fields
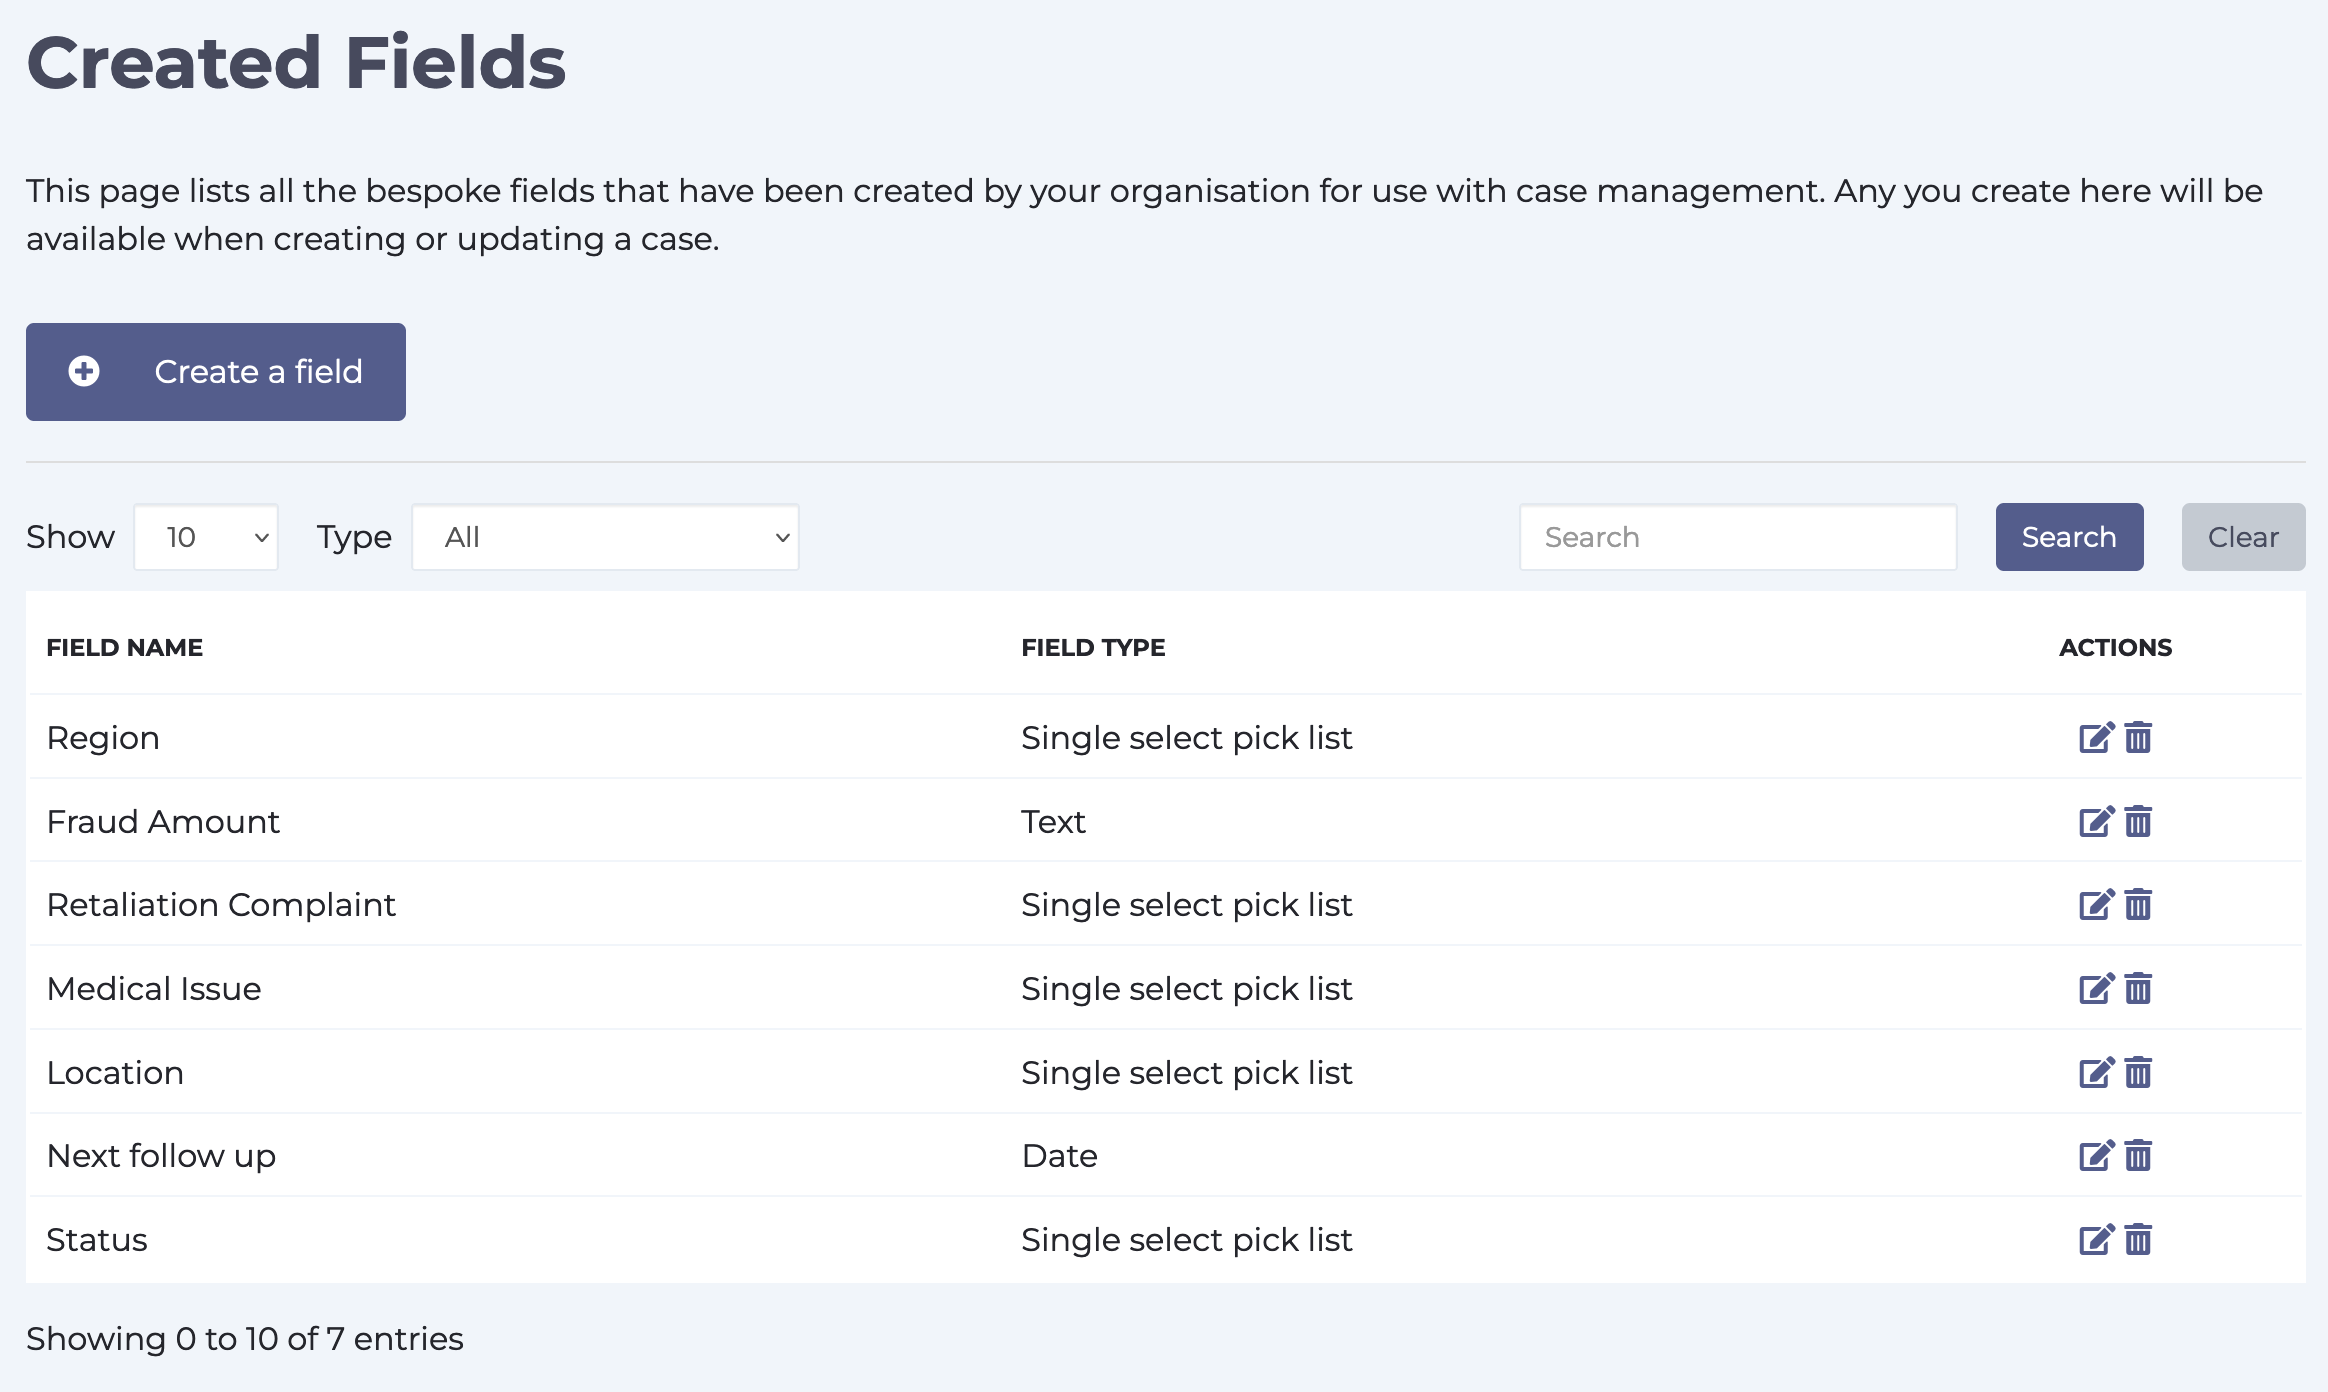
Select Settings > Case Management > Fields from the left hand function menu and on the next page you will see a list of any existing attributes that you have created.
Adding a New Field
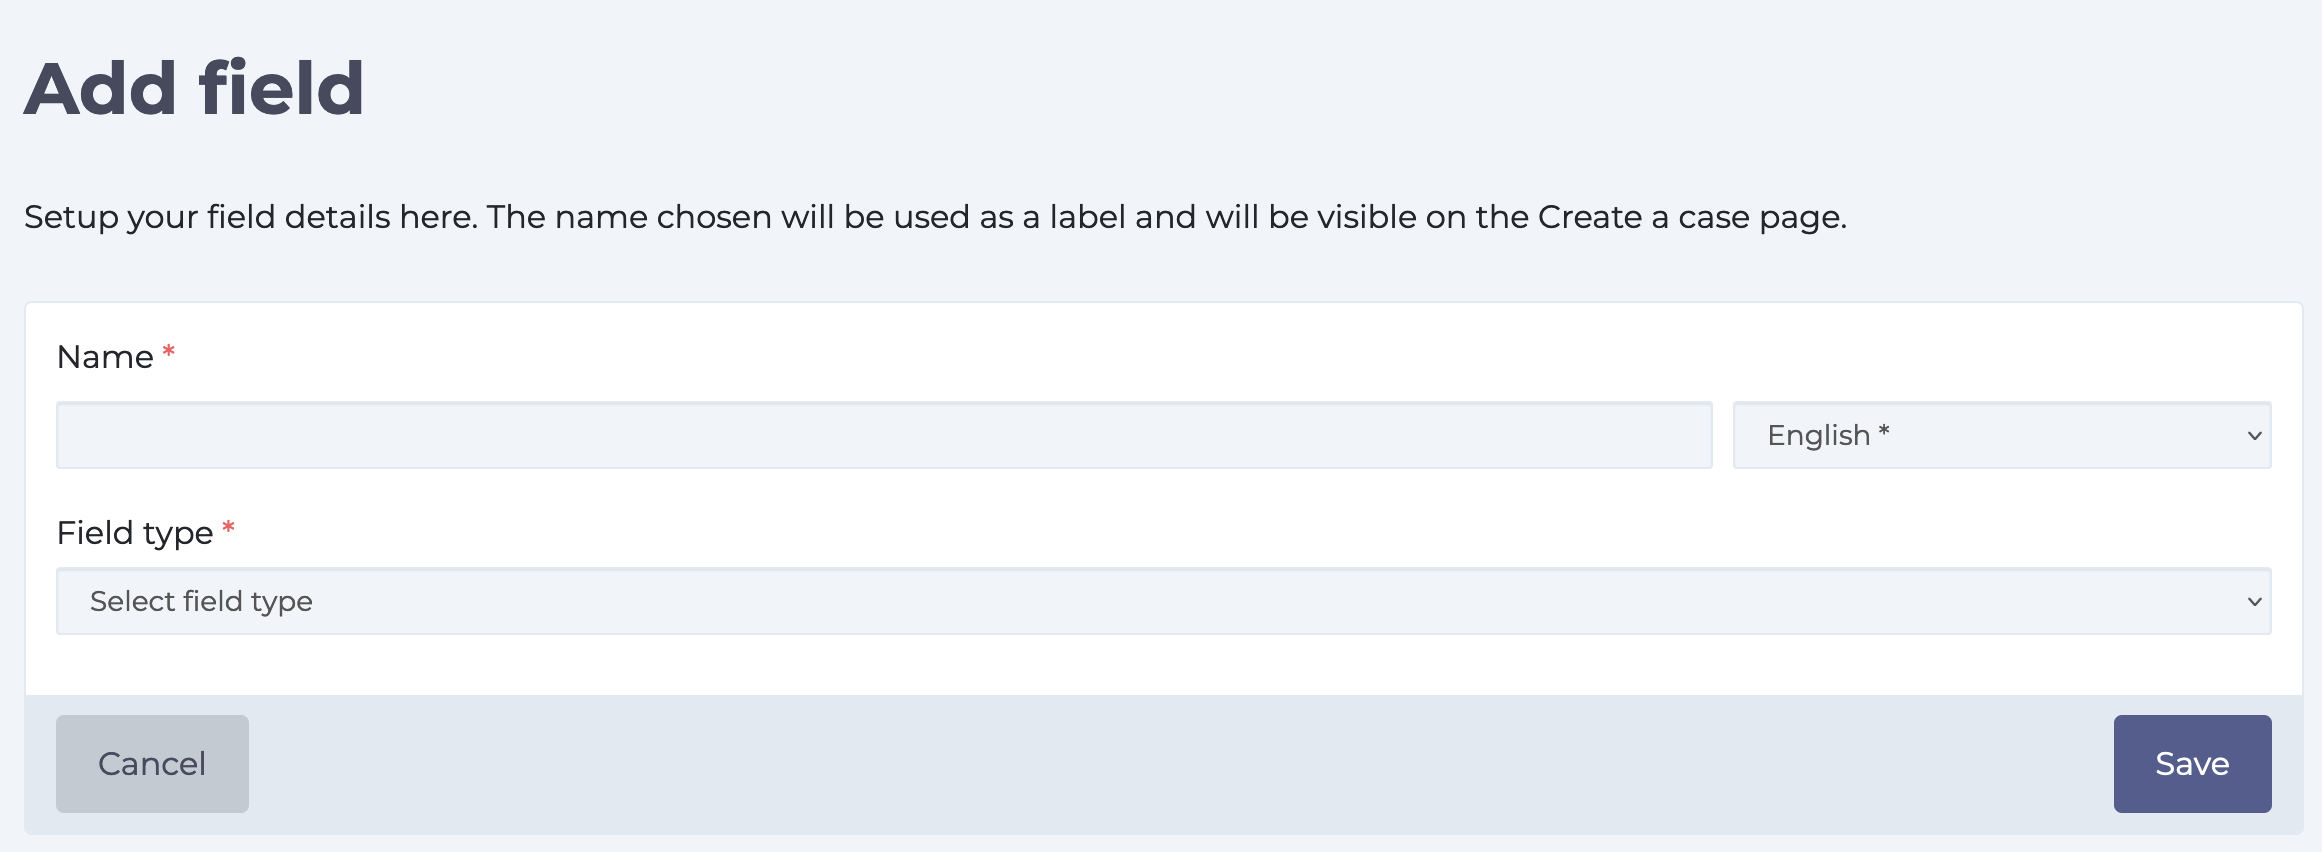
To create a new Field enter the name that you want to call it and then select type from the Field type drop down list. The Name will be seen by Managers when creating or updating a Case so make sure that it is something that will be meaningful to them. Click Save to save your new Field – it will be immediately available.
To edit a Field click on the pencil icon next to the Field you wish to update.
Adding Pick List Items
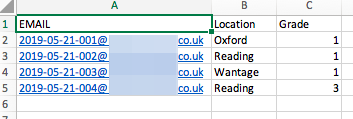
Fields of type “single select pick list” need to have items associated with them. When you select a Field of this type a new panel will appear at the bottom of the screen allowing you to enter in the values you want for this list. If you have already created attributes for surveys or during user uploads then you can opt to select and use these.
It is also possible to remove existing items by clicking on the bin icon next to the item you want to remove.
You are now also able to report on single-select pick list fields on the dashboard by checking this option. This then adds a chart and a table for that specific field.
Remember to click Save when you are done.
Below is how dashboard reporting looks like for single-select pick list fields that have that enabled.
Need more help? If you'd like help or support on any feature of WorkInConfidence then please get in touch by either creating a new support ticket, sending an email to support@workinconfidence.com or using the chat function in the bottom right of the page.


