Anyone that has been granted Case Manager rights is able to create a new case or update an existing case that they have either created or has been shared with them.
Creating a New Case
To get started choose Case Management > Create a case from the left hand function menu.
Case Details
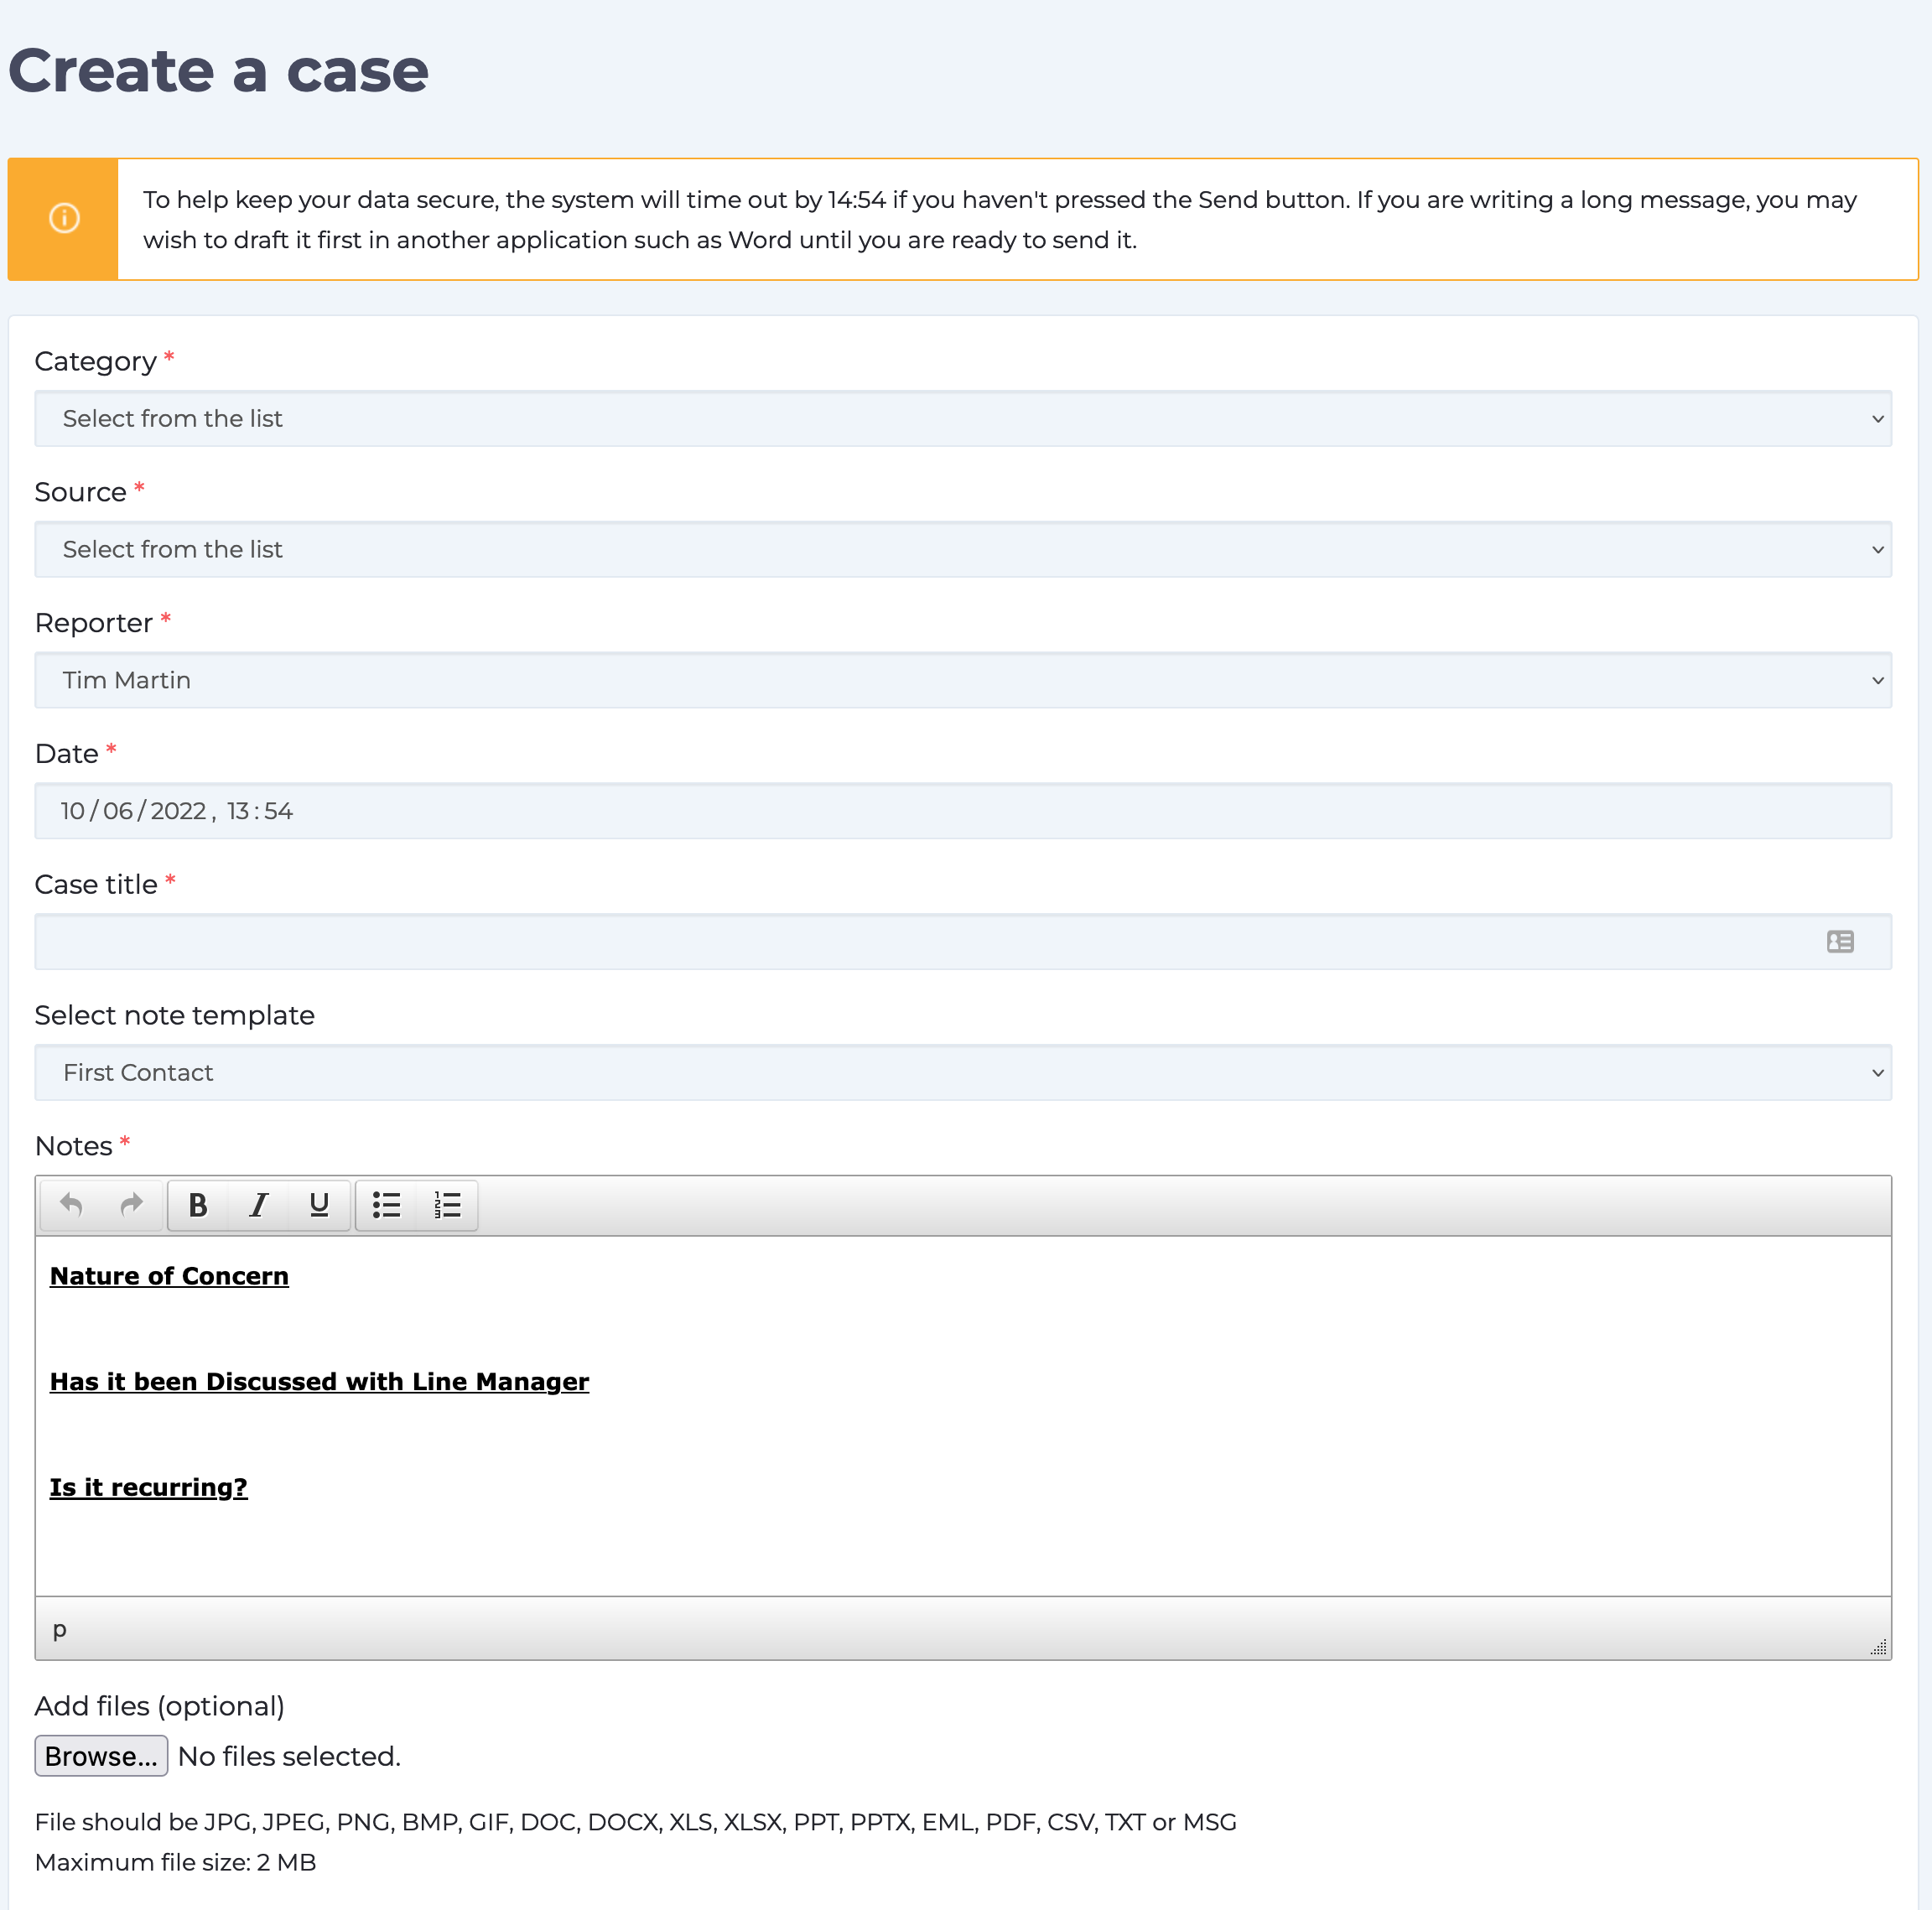
The top part of the add case page allows you to capture details about the case such as:
- where the case came from
- date the case was raised (allowiing historic cases to be created)
- the category
- the creating manager
- the subject and details (notes)
The notes field allows for some simple formatting options including bold, italics, underline and lists.
The bottom part of the page allows you to capture details about who is making the claim (if the individual wants to remain anonymous then you can leave this part blank) and any fields you want to associated with the case.
NOTE: Check your details before saving because they cannot be changed once submitted.
Create a new case
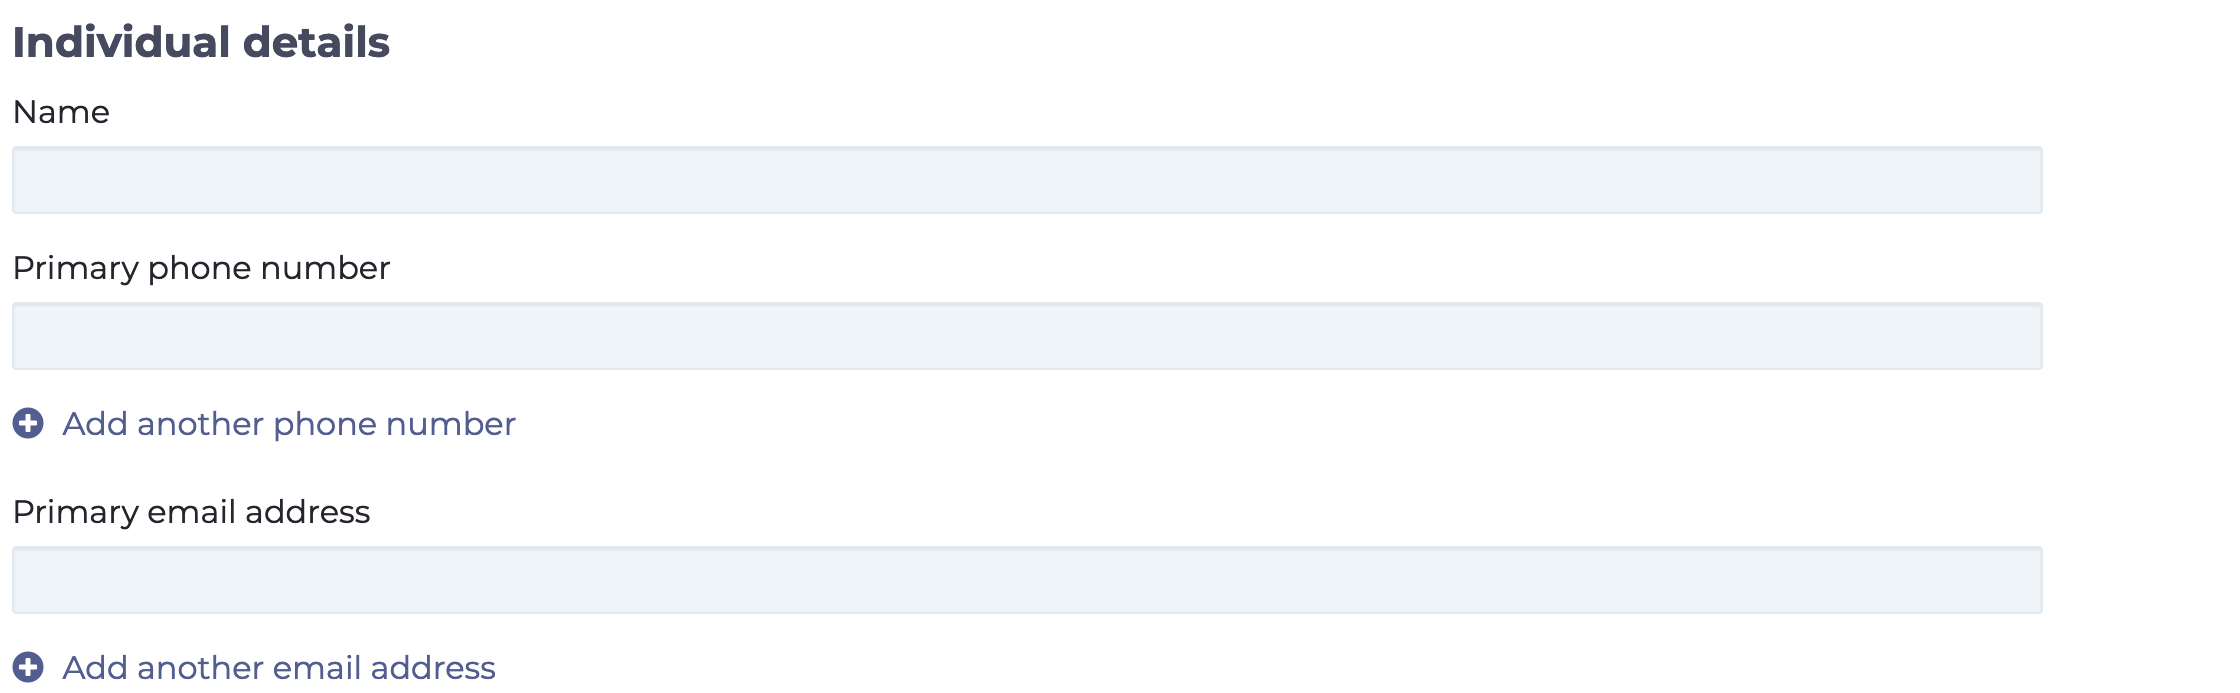
Individual Details
In this section you can record the personal details of the individual that is making the case. You can add as many additional email addresses and telephone numbers as required but note that the primary email address is the one any feedback survey is sent to.
Individual Details
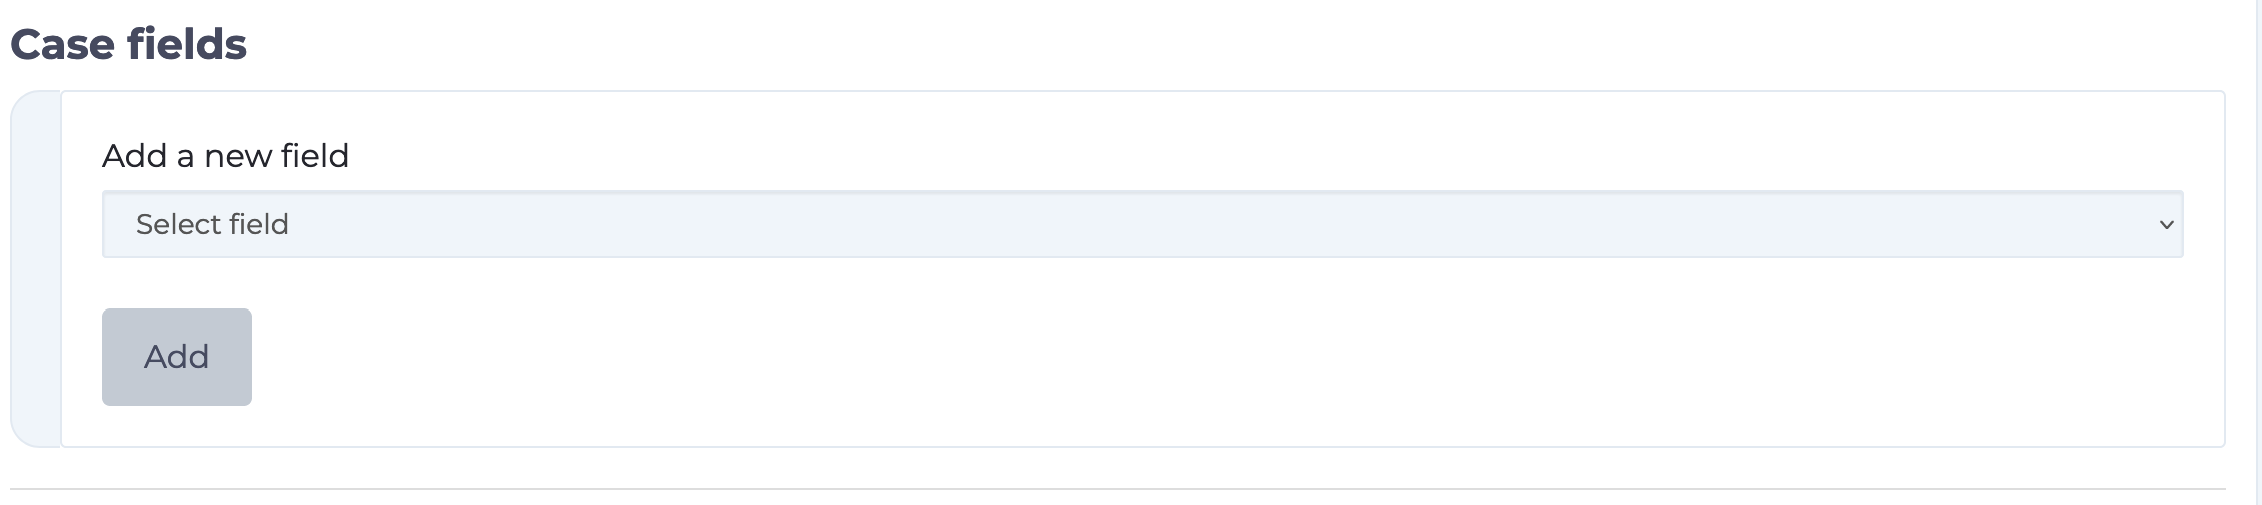
Case Fields
If your organisation has created any Fields you can associate as many as you wish with the case. Typically, these will be items such as protected characteristics, location and job grade.
Select the Field that you wish to add from the drop down list and then press the Add button.
Case Fields
Fields added will be displayed above the Field selection panel from where you can select or add the details associated with the Field. This information can be used for reporting and analytics.
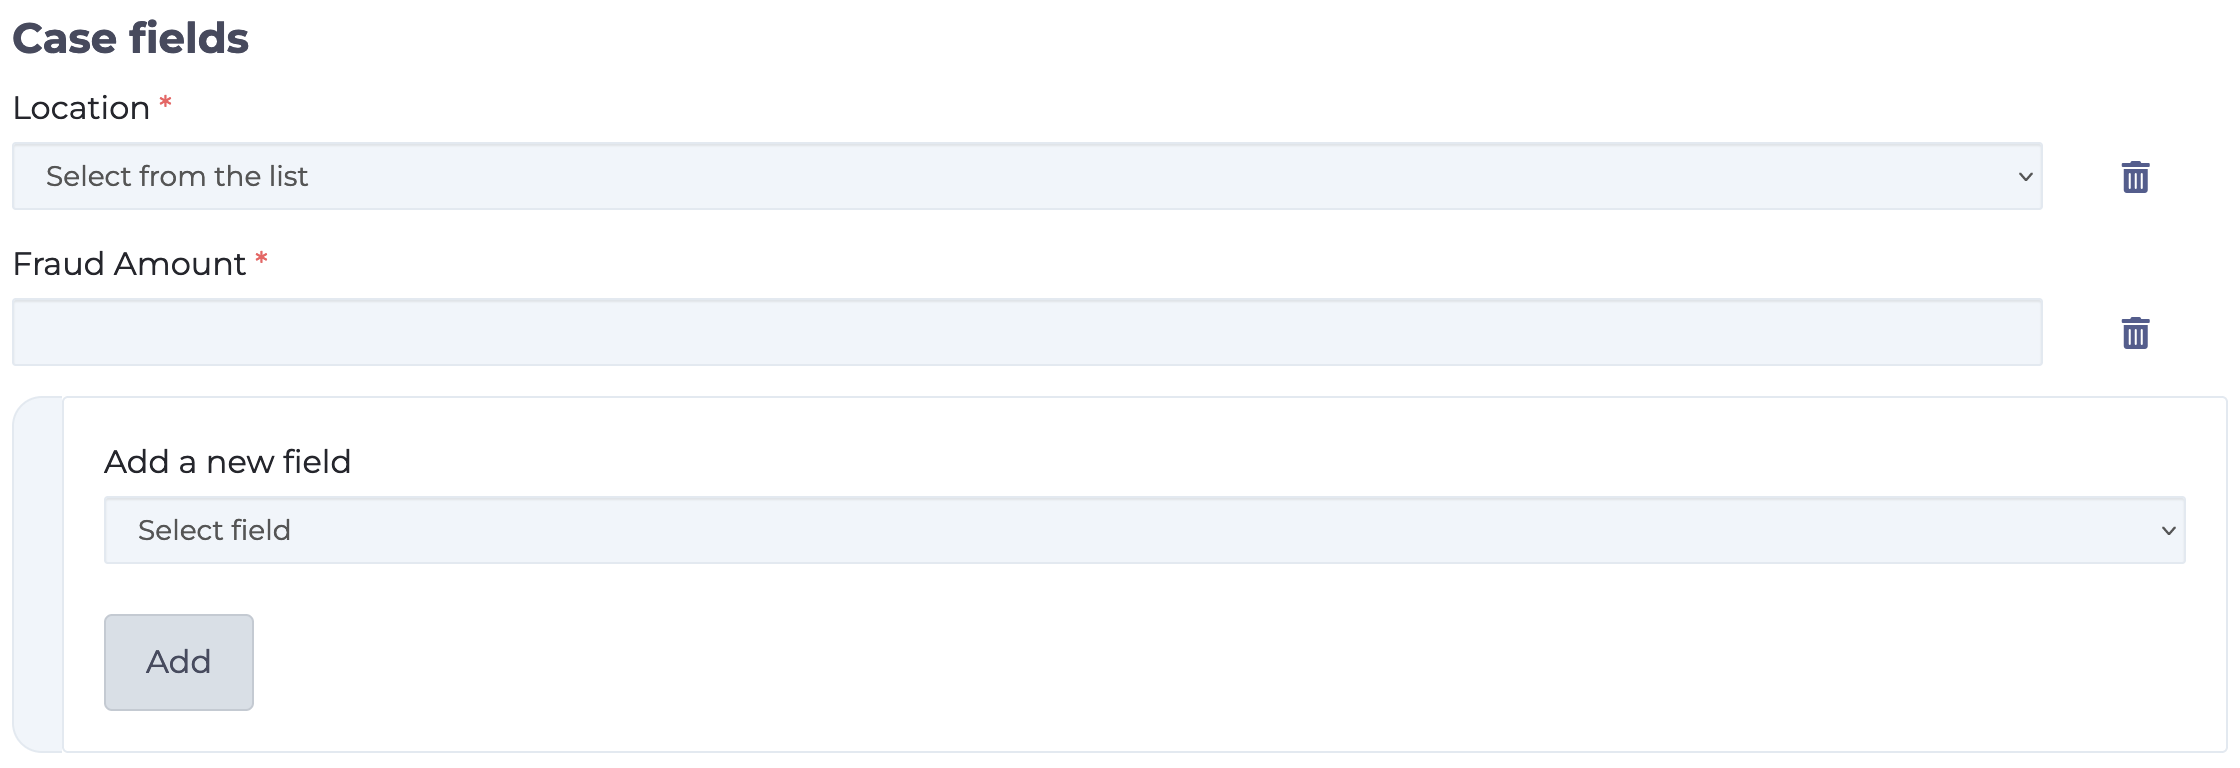
Adding Case Fields
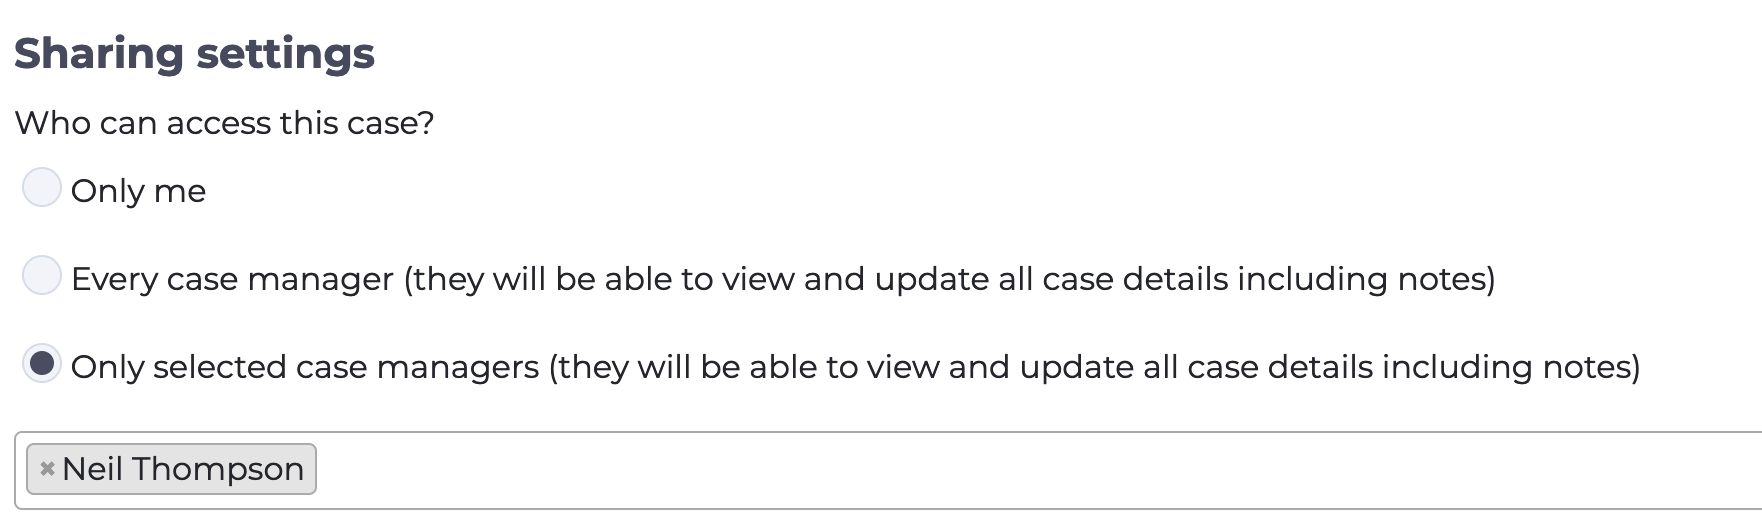
Sharing Settings
Finally is a panel that allows you to choose who, if anyone, to share the case with.
Updating an Existing Case
To view an existing case and add additional notes first find the case in the Created Cases list and click the title which will open the Case Detail page. This page is spilt in to four separate sections which are discussed in more details below.
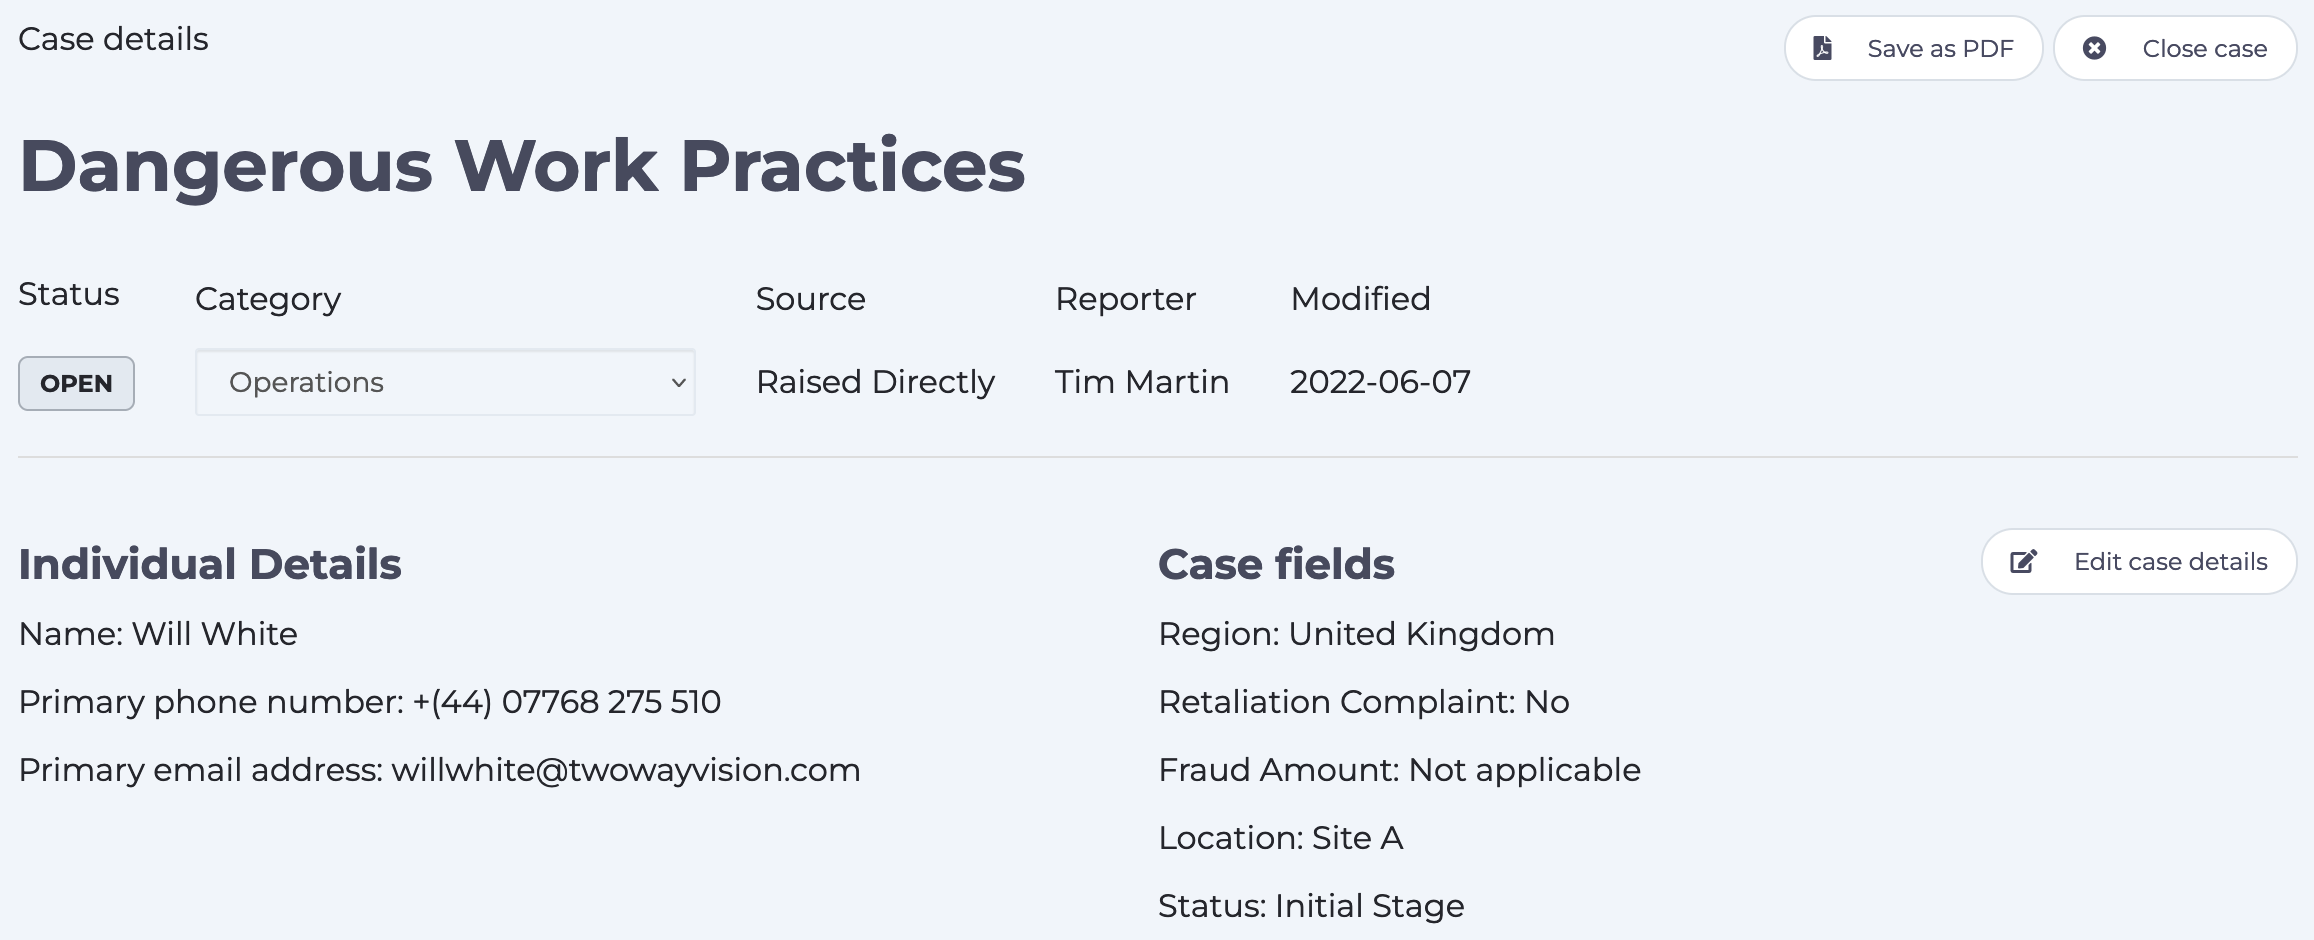
Case Details
This section show the general details of the case as entered:
- status
- where the case came from (source)
- the category
- any manager associated
- the subject
- individual details (if entered)
- case fields (if entered)
NOTE: Source and Reporter cannot be amended.
If you now want to close the case click the Close Case button. To edit and update the details client the Edit case details button where you will be able to do so.
Case Details
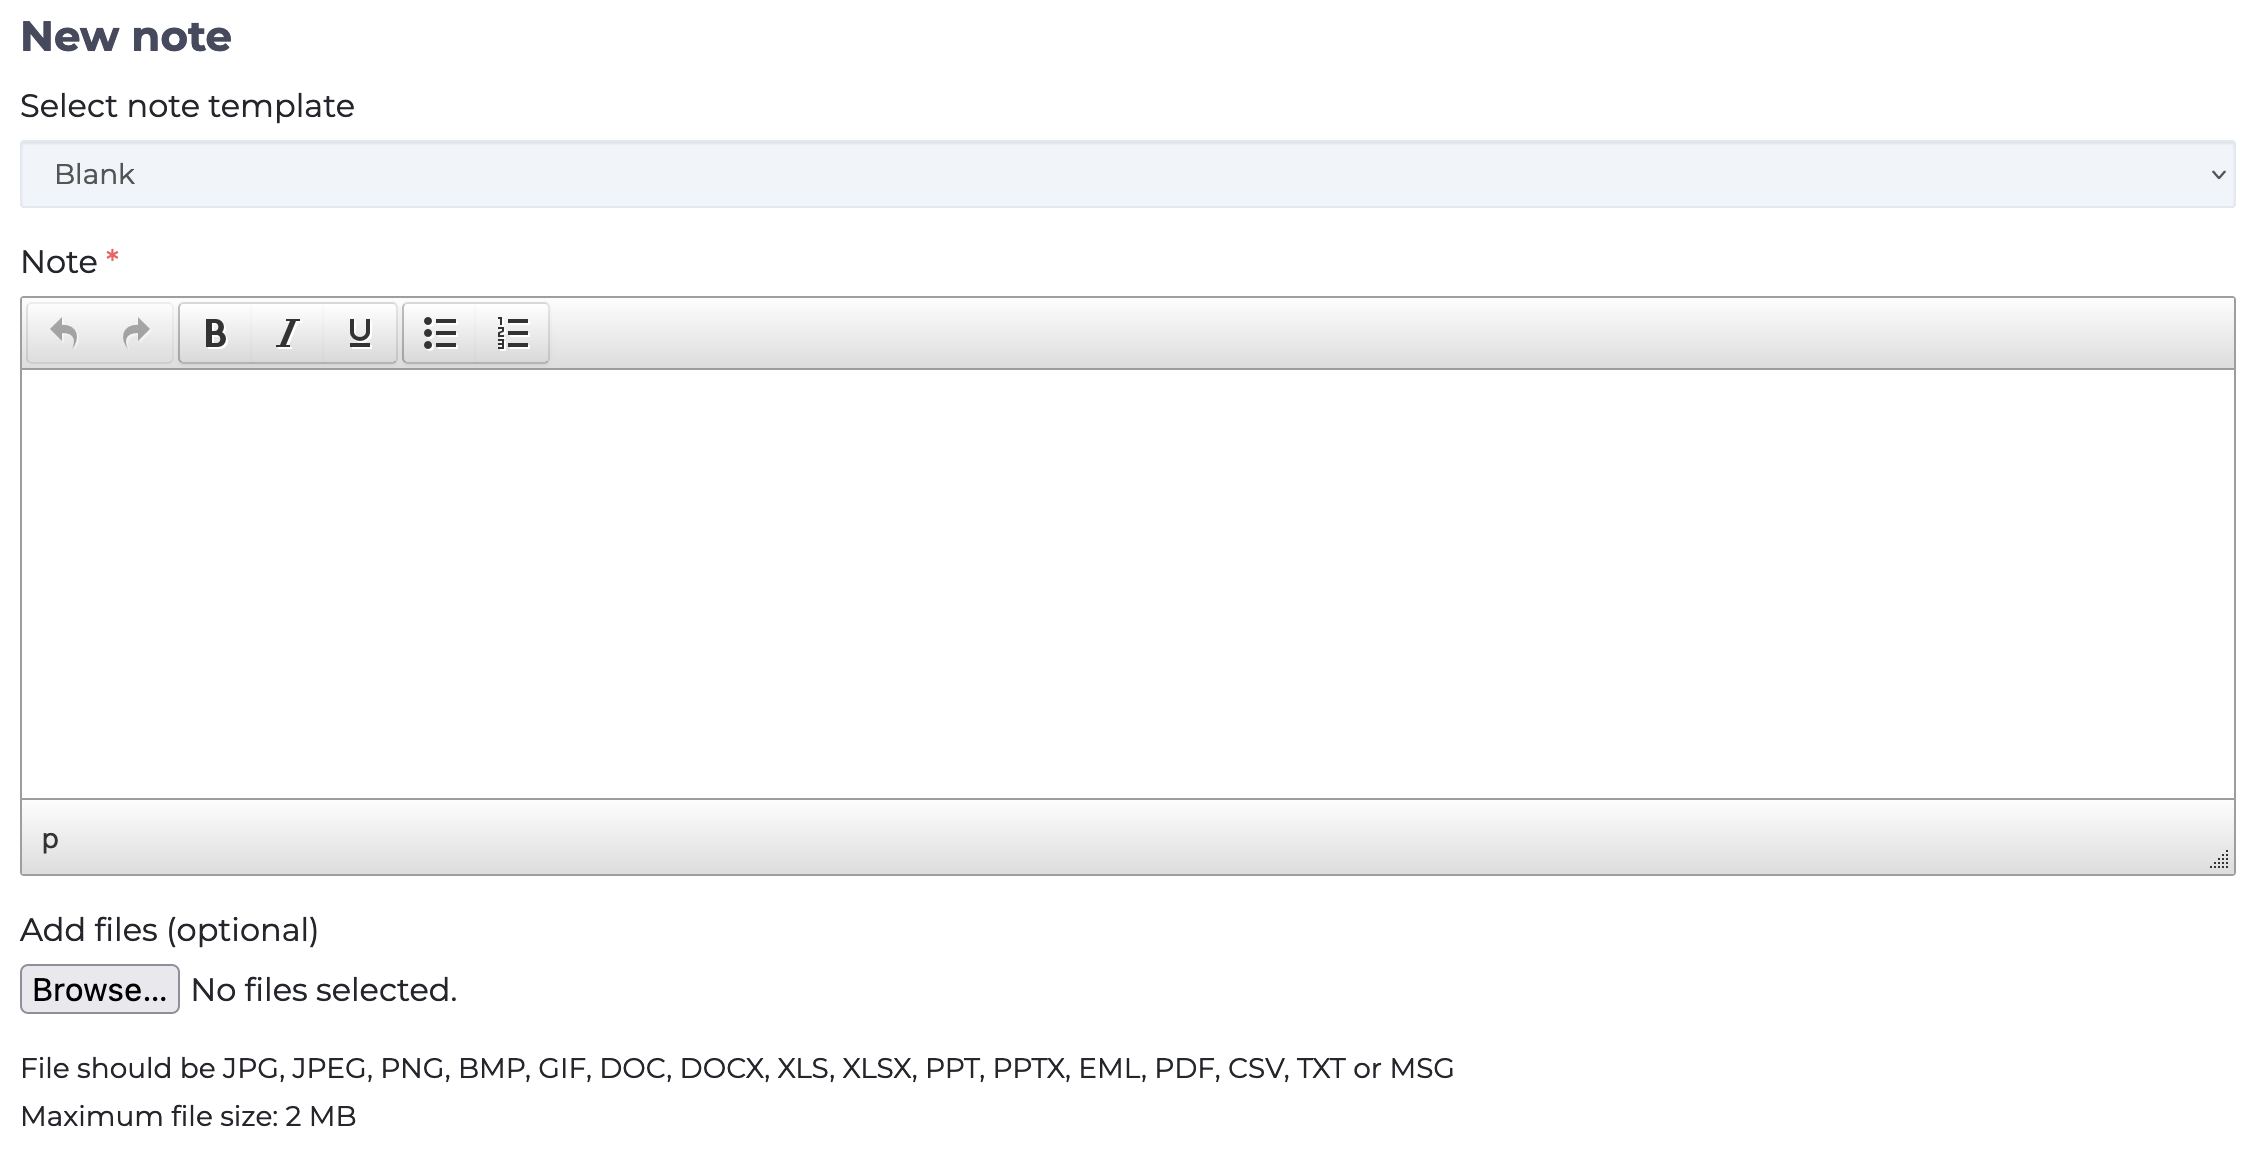
Notes
This final section shows all the notes you have associated with this case in reverse chronological order (latest first). Below which is a form that allows you to capture additional notes for this case. Again, you can use the templates feature to add a pre-built template and add files.
Viewing and adding case notes
Closing a Case
If you have completed the case and don’t intend to add to it further then you may close it by clicking the Close Case button in the Case Details section.
If you have specified a survey to be sent when a case is closed and you have captured the email address of the person that raised the case with you then you will see an additional button called “Close and send survey”. Selecting this option will also send an email to the contact inviting them to complete a survey.

Closing a case
Reopening and Archiving a Case
You can reopen any closed case at any time by clicking the Reopen button. You might want to do this is more information becomes available and you need to add additional notes. You are prompted to confirm that you want to reopen the case.
If you archive a case it will be hidden from the Created Cases table but you can view it again by selecting the option.

Reopening a case
Case Deletion
We value the security of your cases in our system and as a result, deleting a case is not something freely available. However, in order to account for possible mistakes you are able to delete a case within the first 48 hours of its creation. This can be done through the ellipsis menu on Created Cases. Deleting a case is permanent and means its ID will not be reused.
Need more help? If you'd like help or support on any feature of WorkInConfidence then please get in touch by either creating a new support ticket, sending an email to [email protected] or using the chat function in the bottom right of the page.
 for Conversation Recipients (Managers) of WorkInConfidence")


")