Table of contents
- Introduction
- Why consider bulk registration?
- File formats
- Additional attributes
- File validation
- Adding new users
- Reminder emails to bulk uploaded users
- Updating user attributes
- Removing users
- Bulk email changes
- Sending a survey on add/remove
- Limiting access to the system
- Troubleshooting
Introduction
WorkInConfidence offers administrators the ability to register (or remove) users by uploading a file of email addresses.
You can register users in “bulk” as often as you like, and some organisations choose to do this on a monthly basis for all new “joiners”. The same process can also be used to remove “leavers” from the system.
If you have the surveys module you can also send out a survey on adding or removing users.
NOTE: If you want to have a record of who has accounts in the system you can go to the Reports page and check the Bulk Uploaded Users report in the Conversation reports tab.
Why Consider Bulk Registration?
Here are some thoughts on why you might like to consider registering your people in bulk:
- by having an account setup and running, when the user wishes to raise an issue it saves them having to set the password up in “the moment” , if they’re ready to go they just login and concentrate on what they need to be saying
- it’s a really good way to promote the service to users with the welcome email acting as a reminder and promotional tool
- it acts as a good confirmation to users who might have heard about the system during this onboarding period (which for some may be several weeks ago)
- it makes it much easier to send out feedback and survey requests for organisations
- organisations that have done a bulk upload have found that they get higher engagement.
File Formats
Before you start, you will need to make sure that all of the user email addresses are saved in a format that WorkInConfidence can use. Lists of users can easily be created in a program such as Microsoft Excel or in Google Sheets and saved as either an XLS, XLSX or CSV file.
Additional Attributes
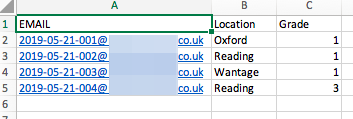
You can also include additional information such as a unique reference number, Division or Location (these are known as Attributes). These attributes are used for sending surveys to specific groups of people. You can add as many of these attributes as you need and here is an example.
A note on Unique Reference Numbers (urn). If you are importing users from an existing HR system (such as ESR in the NHS) then you may also want to include a column with the urn from that system. This will allow you at a later date to change the email addresses of users on WorkInConfidence to take account of situations such as name change due to marriage or change of email domain. Inclusion of a urn is entirely optional unless you are using one of the integrations with a third party HR system.
File Validation
Making sure your file is in the correct format is key to a successful upload so remember to:
- Always make sure you put the word email as the title for the first column in cell A1 (only this naming convention is allowed)
- Always put the email addresses in the first column
- Only add one email address on a line
- If you want to include a unique reference number include the word urn as the title for the column
- Make sure you have a title for each column and if you are regularly bulk upload new users, make sure that the headings of the columns remain the same, so the correct naming convention for your Attributes is kept
- Check for any spelling errors
- Don’t add users names.
You don’t need to worry about duplicates as the system will automatically detect these, and any users that already exist will be ignored.
Once you are happy with your list, then make sure you save it with either an .xls, .xlsx or .csv format.
Upload Users in Bulk
IMPORTANT! BEFORE you upload the file, please check that it does NOT contain any private Email addresses, unless you have an explicit permission obtained from your employees prior to the bulk upload.
Now that your file is ready, on the left hand menu go to Settings > User Management > Upload Users:
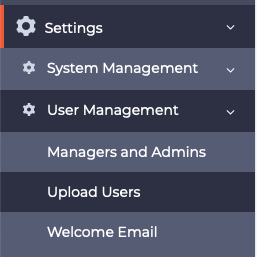
Select Upload Users
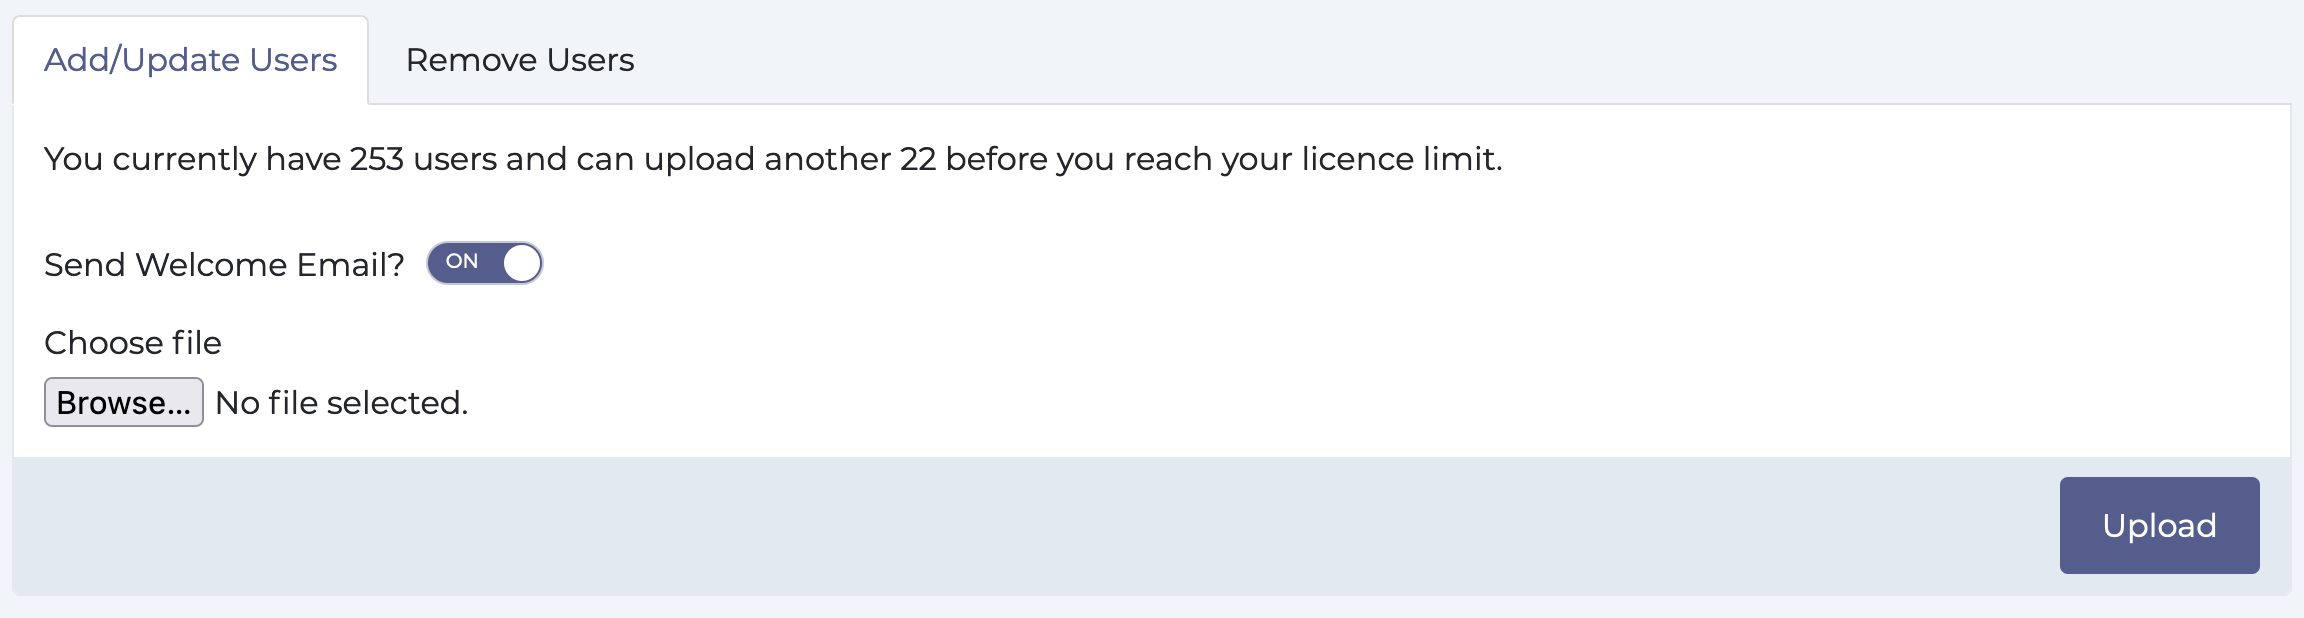
All you need to do now is click the Browse button to upload the file you have created. If you would like the welcome email to be sent to new users select the option. Finally click “Upload”.
Ensure that the number of new users that you are uploading is less than the licence limit.
Upload Users file
You will receive confirmation when the upload is successful and the users have been registered. This takes a bit of time.
The welcome emails are not sent out straight away and it could be several hours before they are processed, so don’t worry if they take a little while before they come through.
Reminder emails to Bulk Uploaded Users
All bulk uploaded users can be sent a reminder email about the app on a half-yearly basis. By default, this option is enabled. The email that is sent is shown below and staff can opt-out by clicking the unsubscribe link at the bottom of the email. Recipients also have the opportunity to indicate why they haven’t used the service to date. The results from these responses can be found in the Reports section of the WorkInConfidence app.
If you do not want your staff to receive these reminders then please contact support.
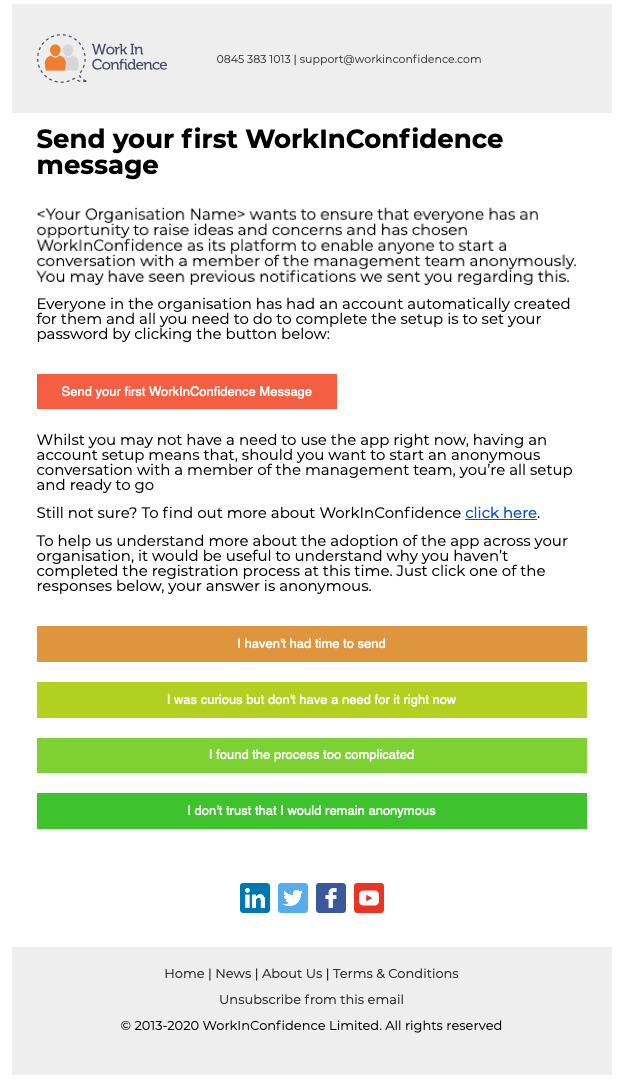
Send your first WorkInConfidence Message email
Updating User Attributes
At some point you may wish to refresh the attributes that you hold against a user. It is easy to do using the same process as for adding the user. The file format is exactly the same. By default WorkInConfidence matches the email address and when it finds a match it will update any existing attribute types or add new ones.
If you have uploaded a Unique Reference Number (urn) along with an email address you will also be able to change the email addresses.
Removing Users in Bulk
The process for removing users is very similar to adding. You will need to make sure that you have created a file in the same format (XLS, XLSX or CSV). This should contain the email addresses of all the users that you wish to remove and cell A1 must say Email.
Once you are happy with the list of users, on the left hand menu go to Settings > User Management > Upload Users:
Select Upload Users
Click the Browse button to upload your file and then click “Upload”.

Removing users
You will receive confirmation when the upload is successful and the users have been removed from the system.
It is important to note that you cannot remove administrators and managers through this option, you must do this via Settings and Managers and Admins.
Bulk Email Changes
The steps below guide you on how to change emails for a large amount of people you have uploaded to the system. This can be useful in case of a domain change. Skip the first step if you’ve already assigned a URN to your employees in our system.
Note that this operation only updates accounts in the system, and therefore a welcome email would not be sent except for any new accounts being created at the same time. This reminder email gets sent to bulk uploaded users half-yearly by default, and you can contact us if you’d like it sent at a specific time.
- Assign a URN to the people you’ve got in the system by uploading a file with their current emails and a URN column added to it. You can get a list by going to Reports and running the Bulk Uploaded Users report.
- Prepare a file with new emails and the URNs assigned previously.
- Upload the file.
At this point the system will update the emails based on the URNs assigned to the accounts.
Sending a survey when adding or removing users
If your organisation has the Survey module you are also able add a survey that you would like to be sent out when adding/removing users. You might include a survey for feedback on the induction process or an exit survey for example.
If you have the survey option you will see the following on the add tab:
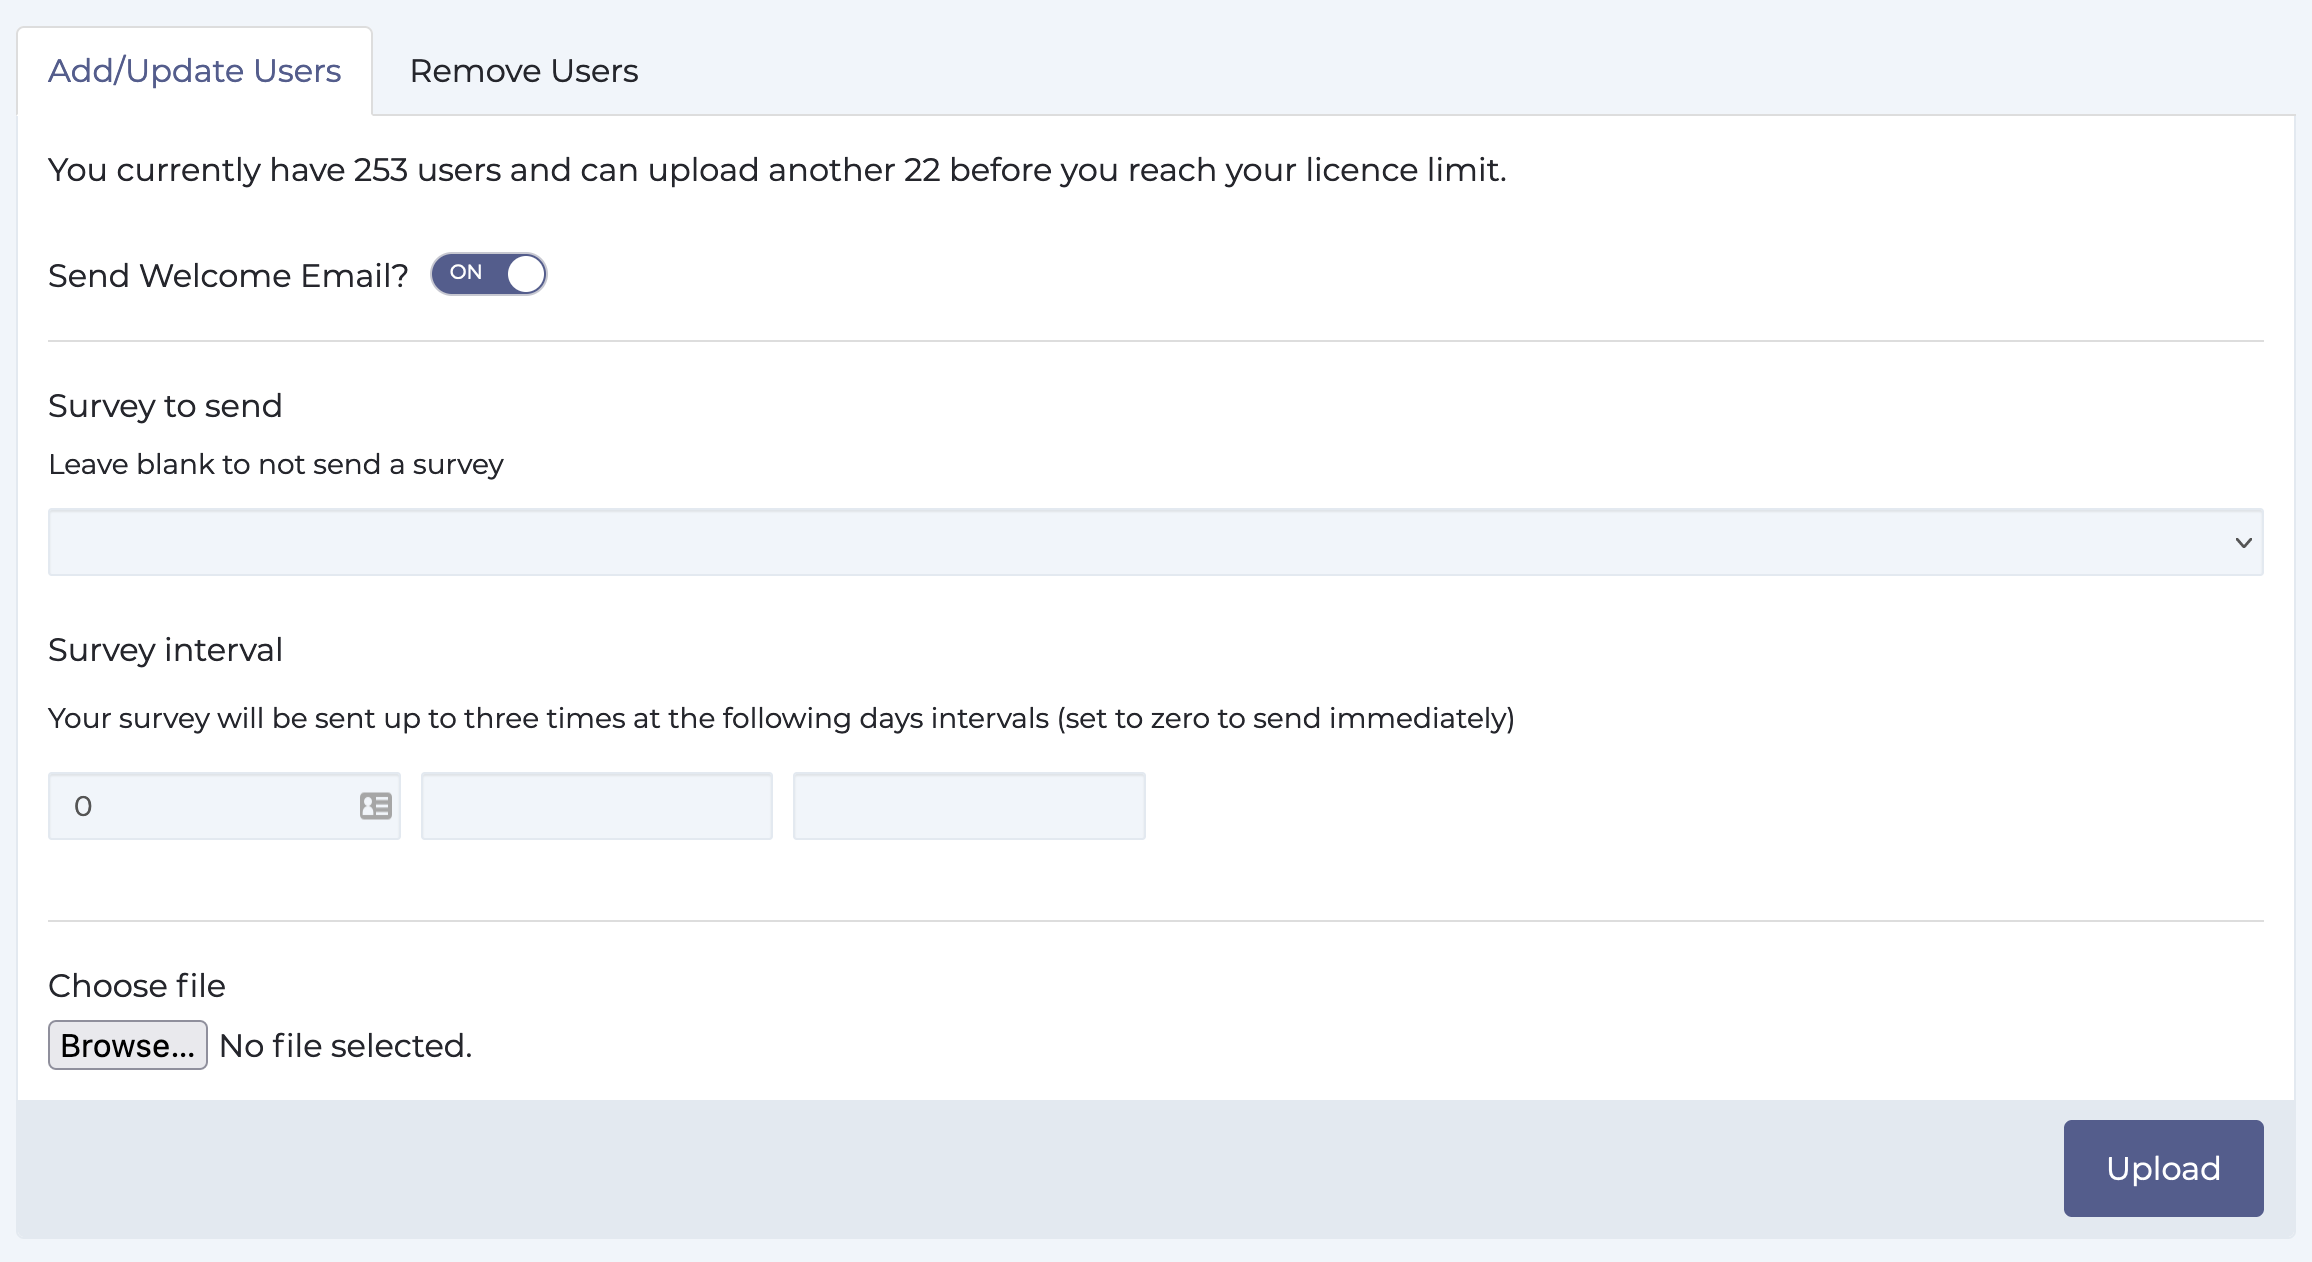
From the drop down list select the survey that you would like to send. This list includes all public surveys so if you can’t find your survey in this list make sure that it is set to be public.
You can choose for the survey to be sent up to three times. For example, if you wanted the survey to be sent three times: immediately, then in three days and finally in six days you would enter 0, 3 and 6 in the fields. If you just want the survey to be sent once immediately then enter zero in the first box.
Limiting Access to the System
It is possible to set WorkInConfidence so that only those users you have uploaded will be able to sign in and users will not be able to self-register. To do this go to Settings, select System Management and Settings.
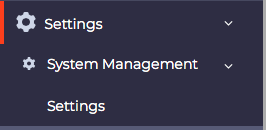
System Management Settings
You will see an option called “Disallow user registration”. When this is ticked users will not be able to register and only users that you have uploaded will be able to sign in. If a user attempts to self-register they will see the following message:
WorkInConfidence registration is currently only available to selected people in your organisation and your email has not been recognised on the list. If you feel that you should be able to register please contact your administrator or email help@workinconfindence.com.
To lift the restriction go back the Settings page in System Management, and untick the “Disallow user registration” option.
Troubleshooting
If the CSV you upload is rejected by WorkInConfidence then follow the steps below:
- Save your CSV as Excel.
- Select column A.
- Open to the Format menu and click on Cells.
- Pick the Custom format.
- Enter this => \”@\”
- Click OK.
- Save the file as CSV.
Need more help? If you'd like help or support on any feature of WorkInConfidence then please get in touch by either creating a new support ticket, sending an email to support@workinconfidence.com or using the chat function in the bottom right of the page.


